One of Americas leading fly casting instructors, Joe Mahler, provides some easy drills to help you overcome the most common casting problems.
As you progress as a fly caster, you will develop your own style. Grip, stance, tempo and other style-points will make the cast uniquely yours. In working with students of all levels, I see the same stumbling blocks, over and over, preventing casters from advancing to that next level. As fly fishers, we are always on the look out for the latest hot fly, the lightest new rod and lines that float higher and shoot farther. Sure, that is all part of it, but the time you spend honing your casting skills might just help you find happiness with the equipment that you already own. I find that understanding the equipment, even looking at it in a different light, can result in the most improvement of all.
Fly Lines
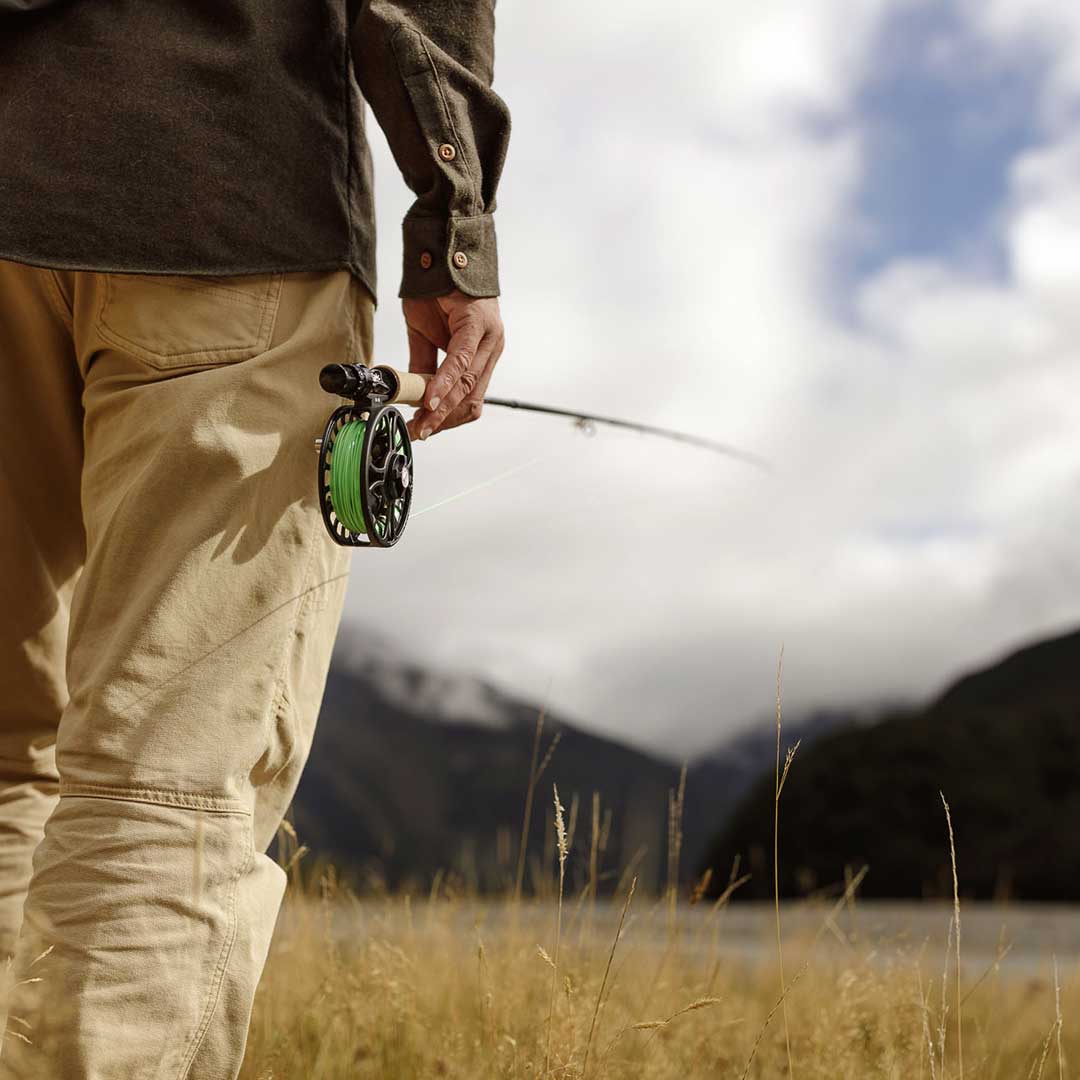
The fly line is the life-blood of the system, so let’s start there. All over the world, fish are caught on just a line. Not just a rod or just a reel, but a line. If you have done any other type of angling, you have had a weight of some sort on the end of your line - a spoon, sinker, bobber, worm - whatever. That weight is what allows you to cast. In fly fishing, the flies that we use have no appreciable weight, so the weight that we are casting is the fly line itself. Think of the line as a delivery system. The weight of the line has less to do with the size of fish that you are pursuing than the size of fly that you are throwing. For our purposes here (and most all of your fishing situations) we will use a weight forward line. Weight forward means that the front section of the line is thicker and heavier than the remainder of the line. The length of the front part, or head, can vary greatly from 20 feet to over 70 feet depending on the type of line you choose. A good average head length would be 35 feet. Casting the line the way it was intended is very important. If you run the fly line through your fingers, you will feel it thicken. That transition point is what you want to have in your hand before casting. Often, I will see a student make a beautiful cast with the line shooting out and the very next cast will fail. What is the difference in the two casts? The caster forgot to strip the line back in to the transition point and there was too much of the thinner “shooting line” outside of the rod-tip. Some lines come in two color tones to mark the transition, or you can mark yours with a permanent marker. Always strip the line back until the mark is in your line hand, or at least inside the rod tip.
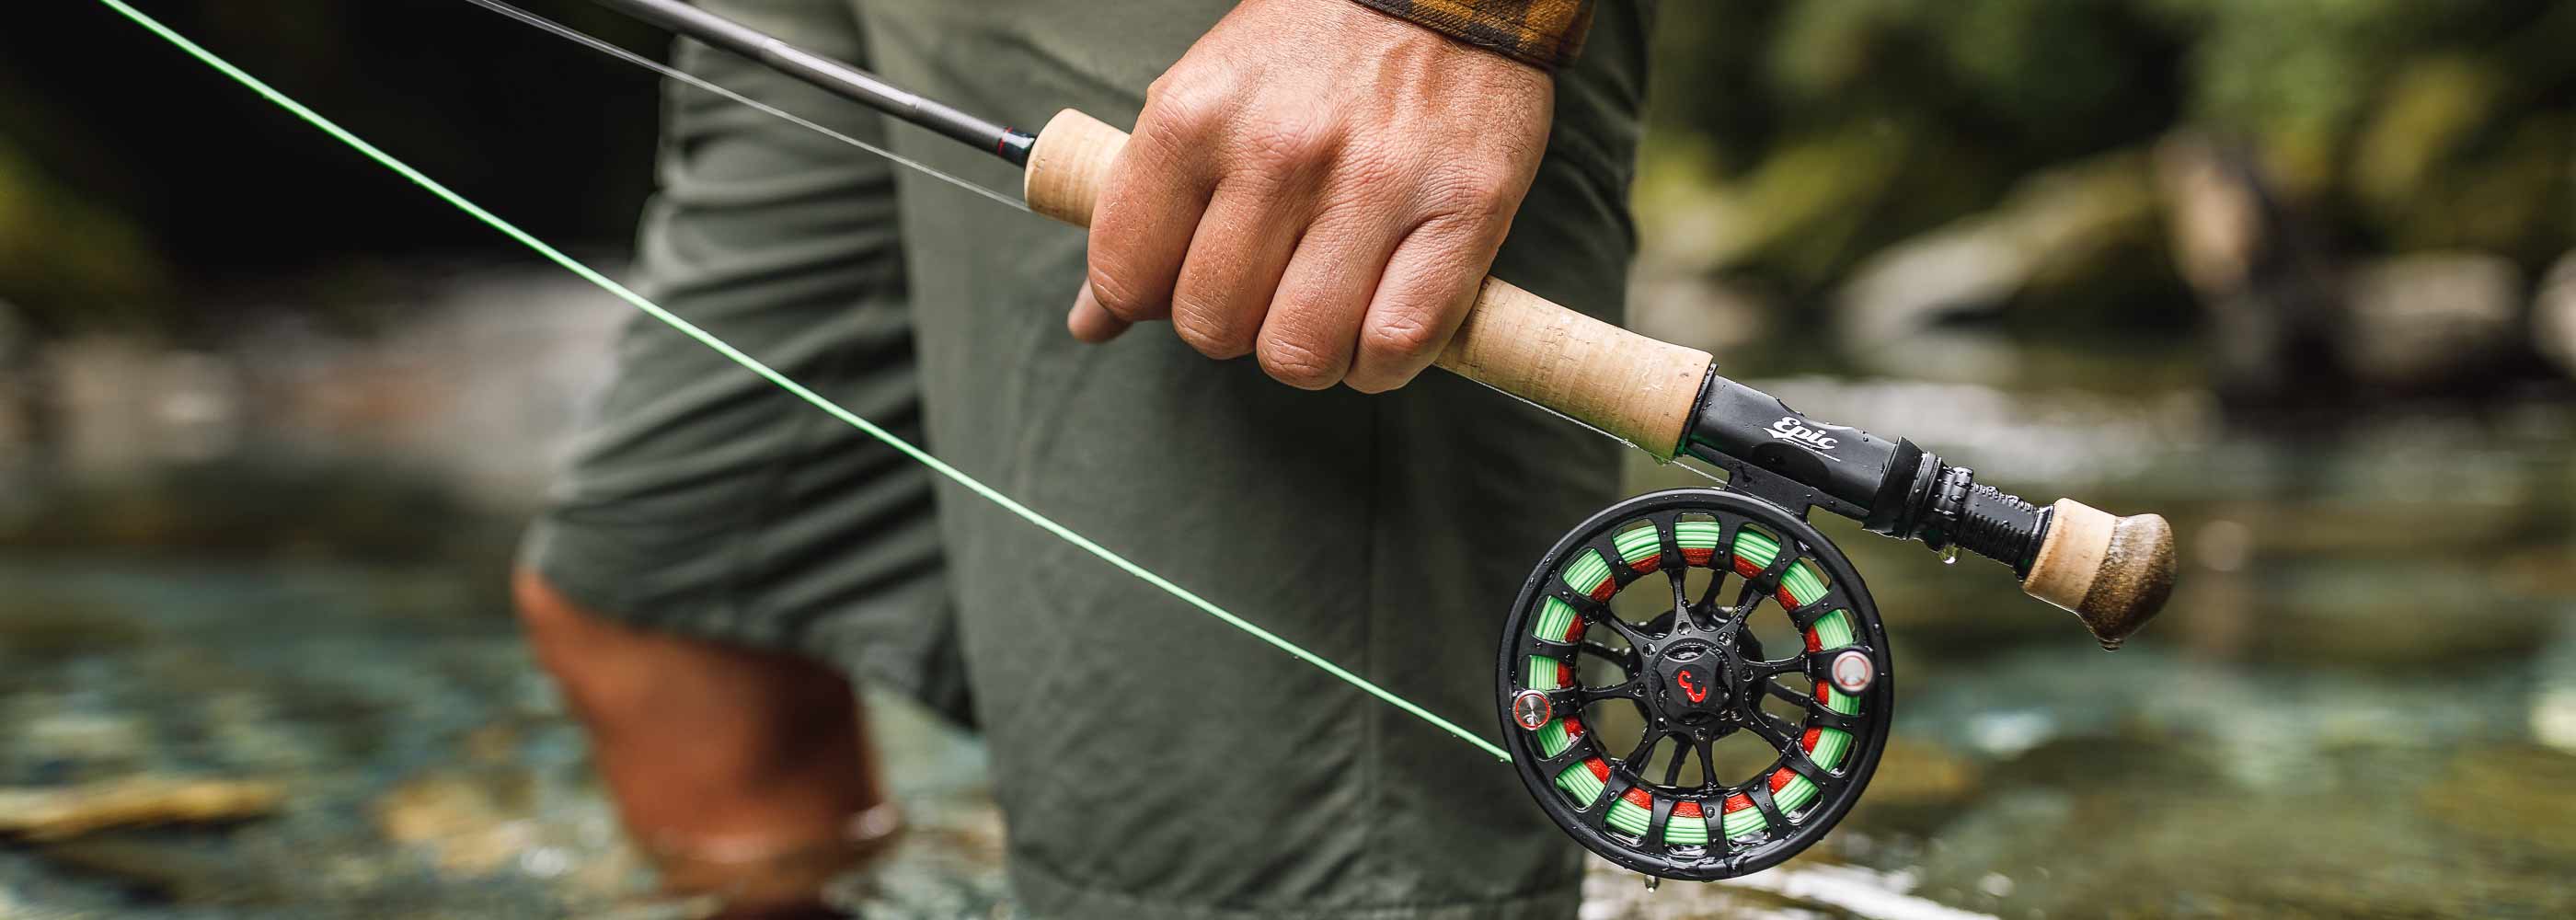
Rods
When you hold a fly rod, you are holding a very long lever. Just how much of that lever you use is up to you. The most common rod length is 9 feet and a small amount of properly-applied hand movement will result in an impressive amount of movement in the tip. Let’s think of a rod as being two parts- the top half and the bottom half, or, the butt and the tip. Simply put, tips are for casting and butts are for fighting fish. When you raise the rod tip to fight a fish, you are engaging the weakest part of the rod to do the hardest work. When you use the butt section to cast, it is simply overkill. Ironically, most new fly anglers use exactly the wrong part of the rod in each instance. When a caster moves his arm in a long arching motion, he is trying to bend the rod deep - or casting with the butt. Think of fly casting as merely bending and un-bending the tip of the rod. A little power goes a long way.
The Pick-up and Back Cast

The first movement of the cast sets the tone for the whole presentation, so let’s make it count. Many casters start the cast with line sagging from the rod tip and try to “rip” the line off of the water’s surface. I like to think of pick-up as an airplane gracefully taking off. Begin with your rod-tip in the water, or nearly so, and strip in all of the slack line. Take the line away from your rod hand and hold it in your line hand. Next, raise the rod-tip with your arm, letting your wrist give ever-so-slightly, until all but the end of the leader and fly are left on the water. Now simply “pluck” the fly off of the water by gently snapping the wrist into the upright position while drawing the arm slightly backward. Pay attention to the angle of gap between the arm and the butt of the rod. If the angle is more than two fingers width at the stop, you’ve rotated the wrist too far.
Drill: Tie a small popper on the end of your leader and try to make your pick-up so smooth that the only disturbance to the surface is the “pop” at the end of the line.

Tracking

You’ve heard it before, “The shortest distance between two points is a straight line” and it especially true in fly casting. Tracking refers to the path of the rod tip during the backward and forward stroke. The straighter that you can make the rod tip travel, the more efficient your movements will be. Think of this part of the cast as your cruising altitude. As long as the line is in the air, the rod tip should be traveling in a laser-straight path . I favor a “squared-off” stance because it is easier to keep the line going straight if the caster's toes, shoulders, belt buckle and even the reel are pointed at the target. Standing sideways, while it does have some advantages, invites body rotation that gives the rod tip a semi-circle path.
Drill: Lay your rod down and sight off of a horizontal object - like your neighbor’s gutter. Take your index finger (or thumb if you prefer) and run it back and forth along that path. You just made the perfect casting stroke. Now practice with your rod in hand. Next make a cast and let the back cast fall to the ground. Is it straight? If not, the path of the rod tip wasn’t either. Practice this until the line lies arrow-straight behind you, directly opposite your target.
The Death Grip

Guys, this one is for you. Many beautiful casts are sabotaged by holding the cork too tight. Way too tight. While the stop of the stroke is very important, shocking the stop creates a whole new set of problems. Think of applying the brakes while driving your car. If you slam them on and hold them down, the car will skid out of control, but if you apply the brakes firmly and let off, the car comes to a gentle stop. It is exactly the same with fly casting. Grip the rod loosely, allowing the cork to slightly “toggle” back and forth in your hand. A looser grip will allow you to feel the line straightening out, prompting you to begin your opposite stroke.
Drill: Make a cast and at the end of forward stroke, gently drop the rod into your other hand. At the end of the forward stroke, the rod hand should be at approximately nose-level.
False Casting

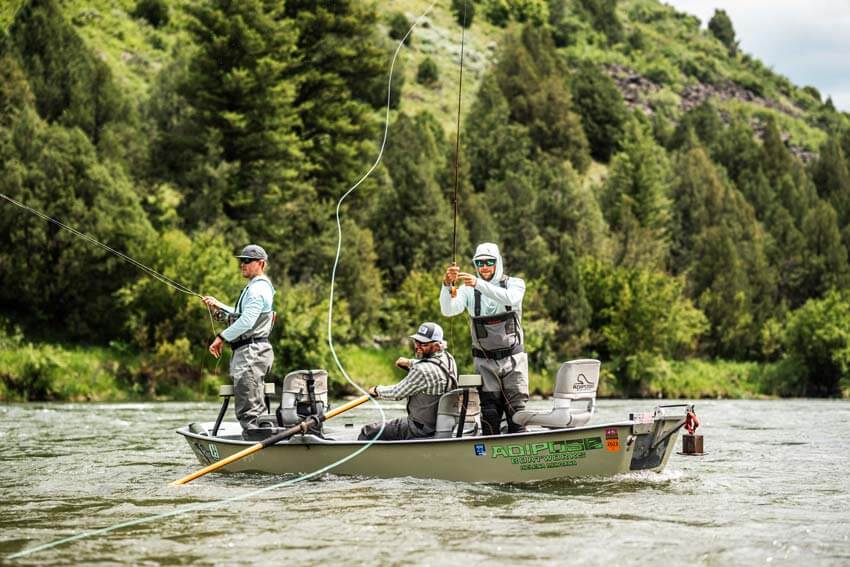
When non-anglers talk about fly fishing, they usually wave their arm back-and-forth in a rapid motion and proceed to tell you about their great uncle Ted who “tied his own flies and everything!” I’m not sure what kind of caster ole Ted was, but I do see many problems associated with false casting. There are several good reasons to false cast, such as airing out a dry fly, hovering over a target for accuracy, getting slack out, building line speed, and sometimes lengthening line. False casting is a great practice tool for working on timing, but too much false casting is counter-productive and very annoying to your fishing buddy, especially if you are in a canoe! Use false casting wisely and not at all when possible. One issue that I see repeatedly involves what is called “slipping line”. When you start with a very short line, it is fine to “slip” a little line out at the end of each forward stroke until you have enough line to load the rod. If however, you slip line beyond the transition point of the fly line, the thinner part of the line will not have the mass to support the thicker part and the cast will loose tension. A well-executed false cast will straighten fully in both directions and never touch the water surface.
Drill: Start with a small amount of line and at the end of each forward stroke. Allow only a few inches of line to slip through your fingers. If you have a solid stop at the end of each stroke, you should feel the line tug on the rod tip as the line straightens out- that is precisely the moment to begin the stroke in the opposite direction. Experiment with speed and stroke-length, paying attention to how the line is affected by slight changes.
Shooting Line

The term “shooting” is, to me, a misnomer. “Shooting” implies that it something that you do, when really it is something that you allow. Releasing the line too early in the forward stroke is probably the most common error that I see among more advanced students. This one is easy to spot. If you see the line between the stripping guide and your body “jump” up above the rod, or even wrap itself around the rod or reel, you know that you have released too soon. Through solid casting strokes we build line speed and the line will continue in the path of the bent rod tip. As long as we have tension, we have control. If during the forward stroke, we release the line, we will have slack. Not good. Make sure that the fly line is out in front of the rod tip before releasing the line, in fact, the line will tug when its time to let go. For even better control, form a circle with your thumb and forefinger allowing your fingers to act as just another guide on the rod.
Drill: Make a cast at a comfortable distance for you. Next, pull out enough line to just barely touch the ground. That is the line that you will shoot. Make your cast and at the end of the forward cast, hold the line between your thumb and forefinger until the line “tugs” out of your hand.
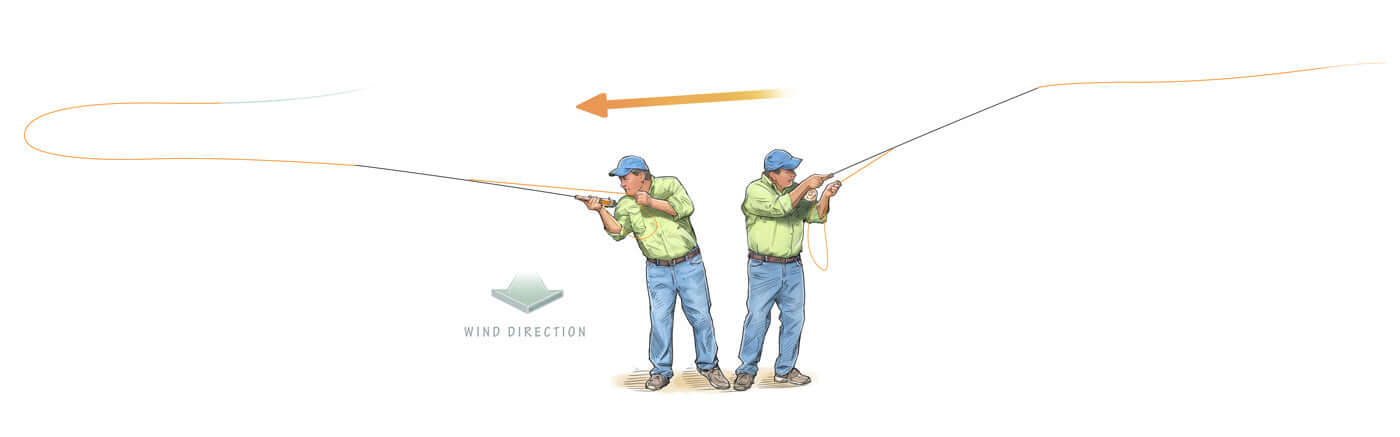
Charging Forward

Another common problem among casters of all levels is what I call “Charging Forward”, or applying too much power on the forward cast. In this article, we have looked at the back and forward casts as separate cycles. Now, let’s think of them as one complete cycle.
Ideally, the power applied on both the forward and backwards strokes is the same, on the final forward stroke you simply release the line (more below) - don’t overpower and “huck the rod”
Make a crisp stop. An easy way to recognize a solid stop is to make sure that there is a right-angle between the upper-arm and forearm at the end of the stroke. After the stop, lower the rod-tip gently to the surface in preparation for your next cast.
Drill: With a comfortable amount of line, make a series of casts varying distribution of power on the backward and forward strokes. Try a much harder back cast and a softer forward cast. Experiment with stroke length and speed, making sure that there is a solid stop at the end of each stroke.
Practice tips
The time that you spend practicing will pay off ten-fold. Choose a spacious venue (I prefer grass) and go there often. Keep your sessions short and focus on one thing per session. Stretch out a length of brightly colored cord to make sure that your casts are laying out straight. Take notes and track your progress, and while your distance will surely increase, it is more important to focus on accuracy and control.

Joe Mahler is one of the USA's leading fly casting instructors and author and illustrator of “Essential Knots & Rigs for Trout” and “Essential Knots & Rigs for Salt Water”. You can Book a fly casting lesson with Joe via his website here.