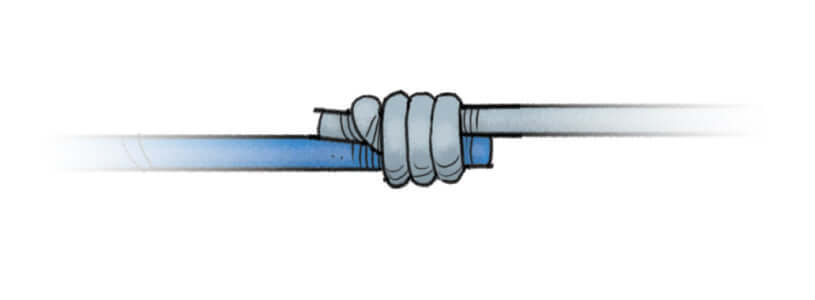
Gary Borger’s twist on this variation of the uni knot makes the finished knot look as good as a true nail knot. It is a real workhorse in the field when you can’t find your small tube or nail-knot tool.
1. Form an overhand loop in the leader butt, adjacent to the end of the fly line. You will be sliding the knot down the line before tightening it, so don’t worry too much about precise placement right now.

2. Take four to five wraps depending on the thickness of the leader material (the thicker it is, the fewer wraps you need). This is the same as when tying a uni knot.

3. Here’s the twist. Holding the long end of the leader material and the end of the fly line, pull the short end of the leader butt and twist it away from you as you pull. As the knot tightens it will be 6 inches or so above the end of the line. No problem. Slide the loose knot to where you want it. Borger pinches the end of the fly line and then slides the coils of the knot down with the fingers on his other hand, continuing to pull on both ends to take out the slack.

4. Pull hard on both ends to make sure the knot is tight. With the right amount of tension the leader will bite into the fly line ensuring that no slippage occurs. Clip off your tag ends nice and close to the knot. If done correctly, you should have a slim connection that will pass through your guides easily.

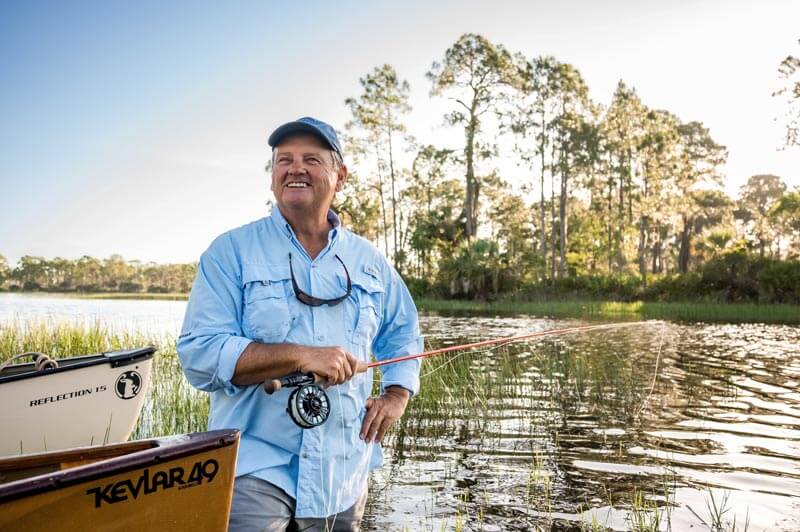
Author

Joe Mahler is one of the USA's leading fly casting instructors and author and illustrator of “Essential Knots & Rigs for Trout” and “Essential Knots & Rigs for Salt Water”. You can Book a fly casting lesson with Joe via his website here